How to Take Better Food Photos for Instagram (Without Buying Anything New)

You spent two hours on that dish. You plated it perfectly, snapped a photo, posted it — and it got 4 likes, two of which were your cousin. Meanwhile, the Italian place down the street posts a plate of spaghetti and gets 300 comments. The food isn't better. The photo is. Here's how to close that gap, starting today, with whatever phone is already in your pocket — and turn those shots into scroll-stopping social media posts that actually fill tables.
The Real Problem With Most Restaurant Food Photos
Restaurant lighting is designed to make your dining room feel warm and inviting. It is not designed to make your food look good in a photo. Those amber pendant lights that give your space atmosphere? They cast an orange tint over everything. Your food ends up looking brown, flat, and slightly unappetising — even if it tastes extraordinary.
Smartphone cameras are smart, but they are not magic. When you point one at a plate under a tungsten bulb, the camera tries to compensate for the colour temperature and often overexposes the bright parts while leaving the rest muddy. The result is a photo that looks nothing like what your customers see in person.
There is also the motion problem. Restaurant kitchens are busy. You are grabbing a shot between the pass and the table, in 15 seconds, without thinking much about where you are standing or how the light is falling. The camera picks all of that up.
None of this is about skill. It is about the environment, and environments can be changed — or at least worked around. Poor photos are also a big reason restaurants struggle to get noticed online even when the food is genuinely excellent.
The Lighting Fix That Changes Everything
Natural light is the single most effective tool you have for better food photos for Instagram, and it costs nothing.
If your restaurant has windows, use them. Find the table closest to the largest window, bring your plate over, and shoot there. Midday light on a clear day can be harsh and create sharp shadows across your food; early morning or the hour before your dinner service opens tends to be softer and more flattering. Overcast days are underrated. A cloudy sky acts like a giant softbox and spreads the light evenly, which means no harsh shadows and truer colours.
Turn off the overhead lights when you shoot near a window. Mixing natural light with artificial light is what creates that orange, muddy look. One light source, ideally the window, gives your camera something consistent to work with.
If you shoot at night or your restaurant has no usable windows, a small LED panel light (around $30 on Amazon) placed to the side of your dish is far better than your overhead fixtures. Position it at a 45-degree angle to the plate, not directly above it. Direct overhead lighting flattens everything. Side lighting creates shadows that give your food dimension and texture — which is what makes food look edible in a photo rather than like a flat image of food.
What to avoid: the flash on your phone. It washes out colour, kills texture, and makes everything look like it was photographed for a police report.
Angles and Composition: What Actually Works for Food
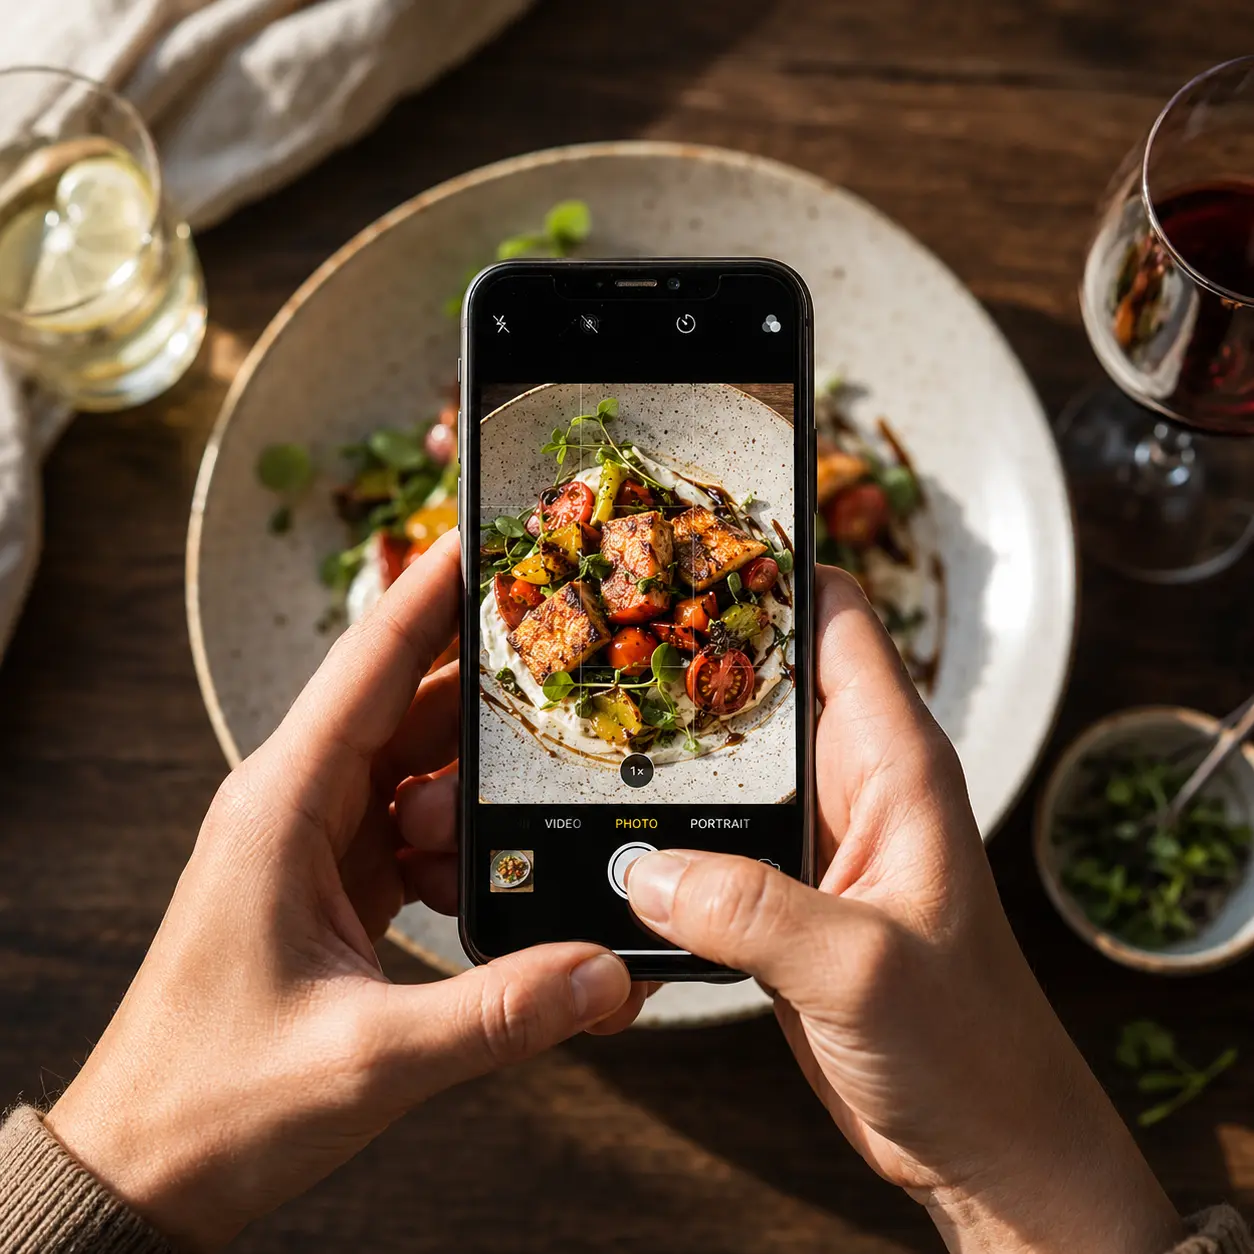
Two angles do most of the work in restaurant food photography: straight down from above (the flat lay) and a 45-degree angle looking slightly down at the plate (the three-quarter shot). Everything else is a variation of these two.
The flat lay works best for dishes with a lot going on horizontally — a spread of tapas, a platter with multiple components, a pizza, a board of charcuterie. Shot from above, the viewer can take in everything at once. The photo works like a map of the table.
The 45-degree angle is better for dishes with height and texture. A burger with a towering stack of ingredients, a pasta dish with ribbons and folds, a cocktail with a garnish. This angle shows the layers, the steam, the depth. It is more immersive than the flat lay because it is closer to how someone would actually look at the dish when it arrives in front of them.
For either angle, fill the frame. Get closer than you think you need to. Most amateur food photos have too much table, too much background, and too little food. The dish is the point — let it take up most of the frame.
One practical note: hold your phone steady. Even a slight shake at close range blurs texture, and texture is what makes food look real and appetising. Tap the screen to focus on the most important part of the dish before you shoot.
The Background Problem
The table behind and around your dish tells a story whether you want it to or not. A cluttered table tells the story of a busy restaurant where nobody had time to clear space. Even if that is exactly what is happening, the photo does not need to show it.
Before you shoot, take ten seconds to remove anything that does not belong in the frame. Menus, glasses with water rings, condiment bottles, someone's phone, a crumpled napkin — all of it goes. You do not need a styled photoshoot setup. You just need a clean surface and whatever is intentionally on the table.
Simple props that actually work in restaurant settings: a clean linen napkin folded loosely beside the plate, a small sprig of the herb used in the dish, a glass of wine or a cocktail if it was ordered with the meal, a piece of the bread that came with the starter. These things belong to the meal. They contextualise the dish without looking staged.
What does not work: plastic decorations, flowers from the arrangement on the host stand, anything that has no connection to the food. Props should feel like they were already there.
If your tables are dark wood, they are a natural backdrop for almost any dish. If your tables are light-coloured, be careful with pale dishes — a creamy risotto on a white tablecloth tends to disappear. A dark wooden board or a slate tile, both easy to find cheaply, solve this problem immediately and work across most cuisines.
Editing Your Photos Without It Looking Edited
The goal is not to make your photo look edited. The goal is to make it look the way the dish actually looked — the version your eyes saw, not the version your phone's camera compressed and colour-shifted.
Three adjustments do most of the work, and all of them are available in the native editor on any iPhone or Android phone:
Brightness and exposure. If the photo looks dark and flat, pull the exposure up until the food looks the way it did in real life. Do not push it so far that the highlights blow out (white areas lose all detail).
Contrast. A small increase in contrast separates the shadows from the highlights and makes the image feel more three-dimensional. Increase it only slightly — five to ten percent of the slider — and stop there.
Saturation. This is where most people over-edit food photos. Vibrance (which targets muted colours) is safer than saturation (which affects everything). A small boost in vibrance brings out the green in herbs, the red in a sauce, the golden brown of a crust. Push it past that point and your food starts to look plastic and inedible.
Free apps worth using: Snapseed is the best all-around option and requires no account. Lightroom Mobile has a free version with more precise controls if you want them. Both let you make targeted adjustments — brightening the shadows without overexposing the rest of the image.
The test: if someone looks at the finished photo and says "great filter," you went too far. If they say "that looks delicious," you have it right.
The Shortcut Most Restaurant Owners Are Using Now
Learning to take better food photos for Instagram is worth the time. But the reality of running a restaurant is that most of the time you will grab your phone in 20 seconds between covers, shoot under whatever light is available, and move on. The editing tips above help, but they require sitting down and working through each image, and that is not always going to happen.
A growing number of restaurant owners are using Feedtray for exactly this situation. You upload the photo you actually took — the real one, from your actual kitchen or dining room — and the AI enhances it: improving the lighting, the colour, the detail and the overall look without turning it into something fake. It is your food, made to look its best. The whole process takes about 30 seconds.
This is different from AI tools that generate an image of a burger that does not exist. Feedtray works on the photo you have, which means the result still looks like your restaurant and your dish. That matters, because customers who come in after seeing your Instagram post are expecting the food they saw in the photo. You can see how it works in under a minute with a photo from your own kitchen.
If you have been sitting on a backlog of decent photos that you never posted because they looked slightly off, that is probably the most immediate use for it.
Putting It Together
Great food photos are not about owning a professional camera or hiring a photographer. They are about understanding a handful of simple things: where to find the light, how close to get to the dish, what to clear off the table first. The fundamentals are learnable in an afternoon and repeatable in 30 seconds once they become habit.
If you want to skip the learning curve on the editing side, or just see what a real food photo looks like after it has been properly enhanced, check out more restaurant marketing tips or try Feedtray free with a photo you already have.